


FREE GIFT with $85+ purchase ($85 before shipping charges) |
Description
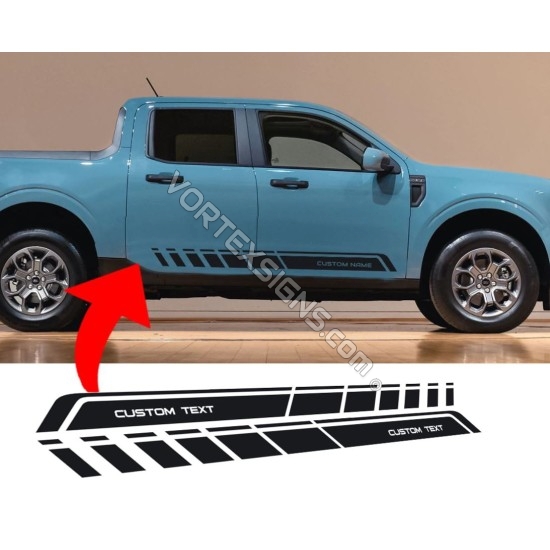
Upgrade the appearance of your Ford Maverick with our Vortex Signs premium side stripes. These stylish stripes are designed to perfectly fit your vehicle, adding a custom touch to your vehicle's look. With our easy installation process, you can quickly and effortlessly enhance your Maverick's look. Our die cut vinyl side stripes are sleek and eye-catching, giving your Maverick a unique and personalized look. Whether you're looking to add a sporty accent or a subtle touch of customization, Vortex Signs side stripes are the perfect choice. Change your Ford Maverick's appearance with our premium side stripes and make a statement on the road.
- Left and Right side
- Sleek and eye-catching design
- Designed to perfectly fit the contours of your vehicle
- Designed to withstand daily driving, car washes, and exposure to environmental elements without peeling, fading, or cracking.
- Made from durable materials, our decal adds a custom touch to your vehicle.
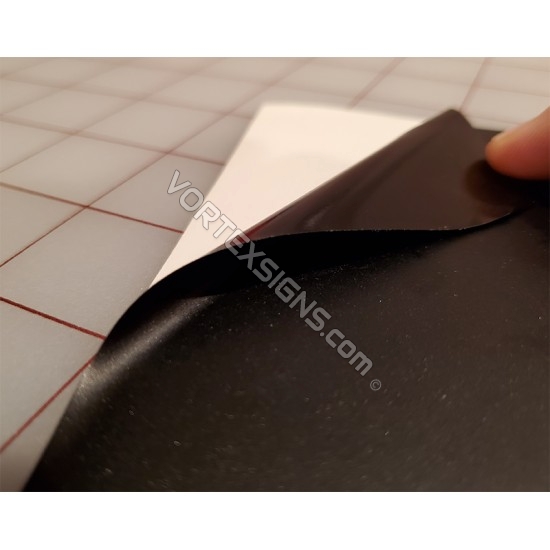
- Made from high-quality Oracal 651 Exterior vinyl material that is durable, weather-resistant, and UV-resistant.
- Easy to install and it comes with clear installation instructions
- Easy to apply without the need for professional help or specialized tools (as long as you have small experience in vinyl decal installation)
- Easily removable without leaving residue or damaging the underlying paint or surface
- Stock: In Stock
- SKU: VS773
Available Options
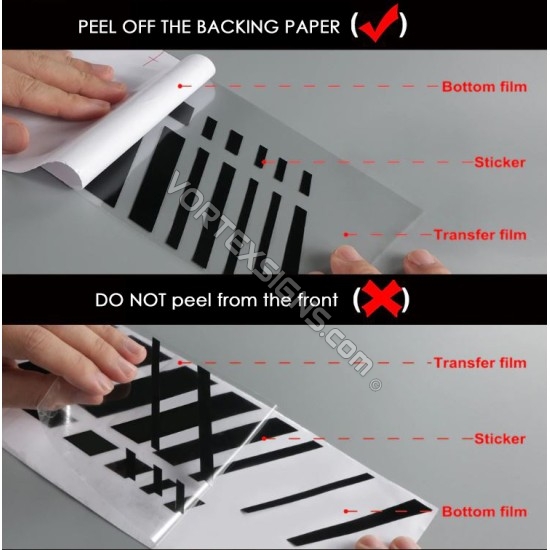
Note: A clear transfer tape (or application tape) will be provided to help with the installation.
1. Clean surface and allow surface to completely dry
2. Peel back the paper backing from the transfer tape
3. Place the decal on the surface
4. Carefully using a credit card or your fingers to push down on the decals
5. Slowly remove the transfer tape away from the surface ensuring decal does not peel off with the transfer tap


