






FREE GIFT with $85+ purchase ($85 before shipping charges) |
Description
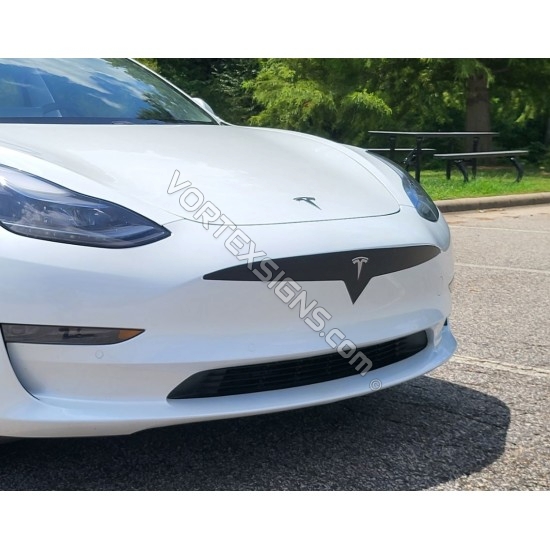
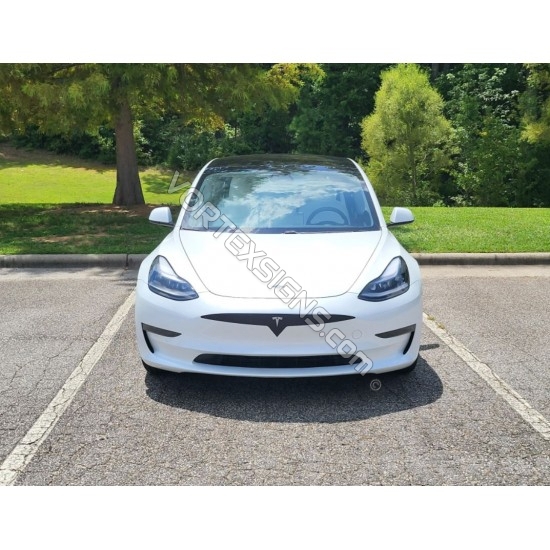
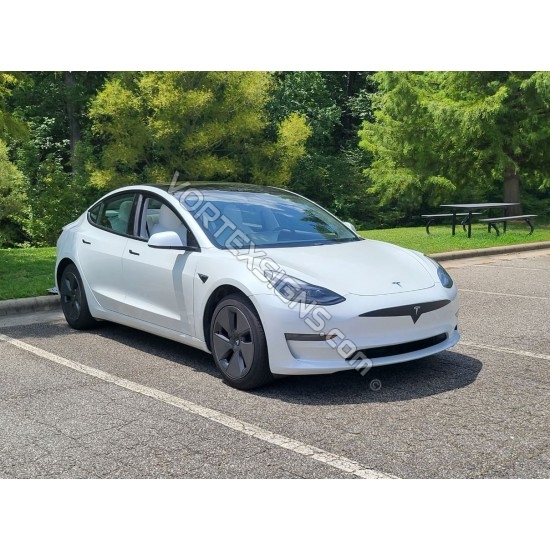
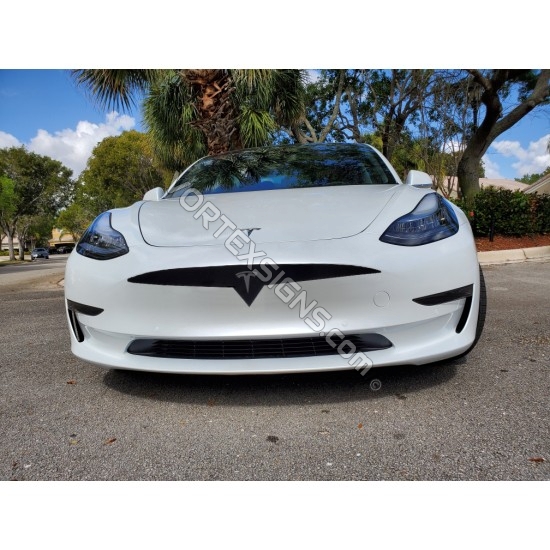
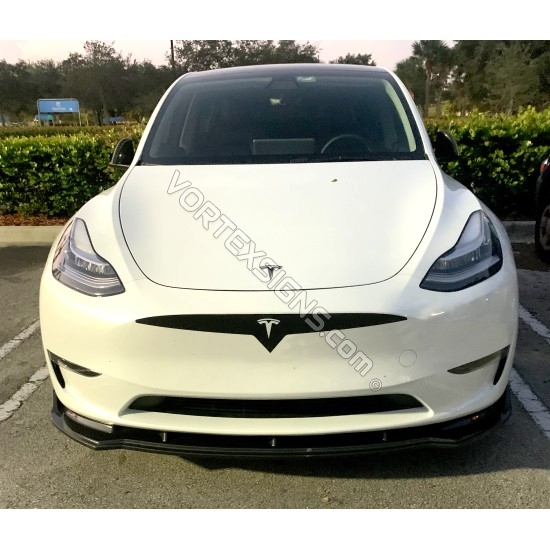
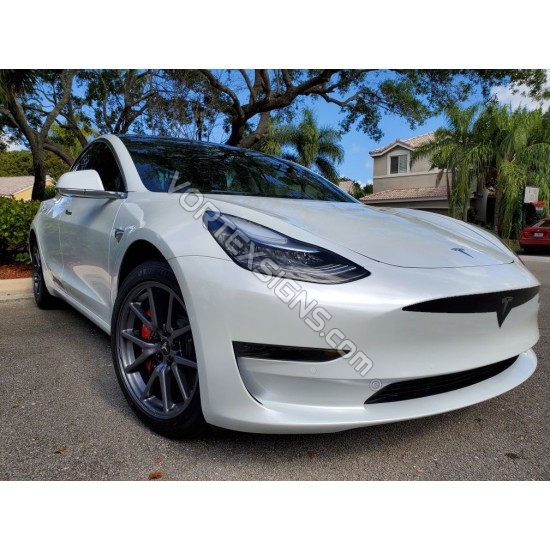
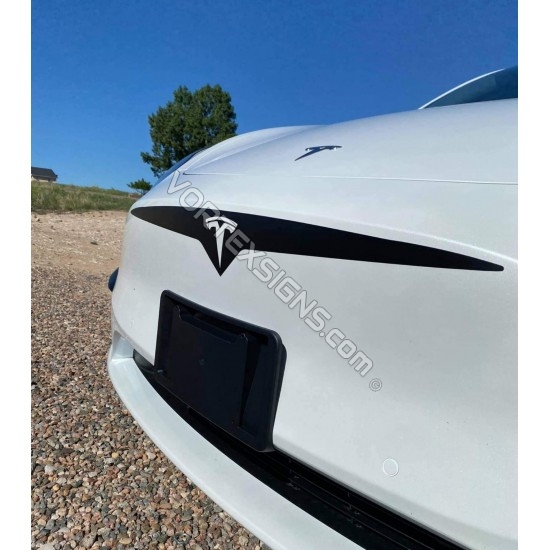
- Best exterior performance accessory product in 2021 for your Model 3 to achieve bumper grille look
- Easy installation of the product by any DIY person in their own garage
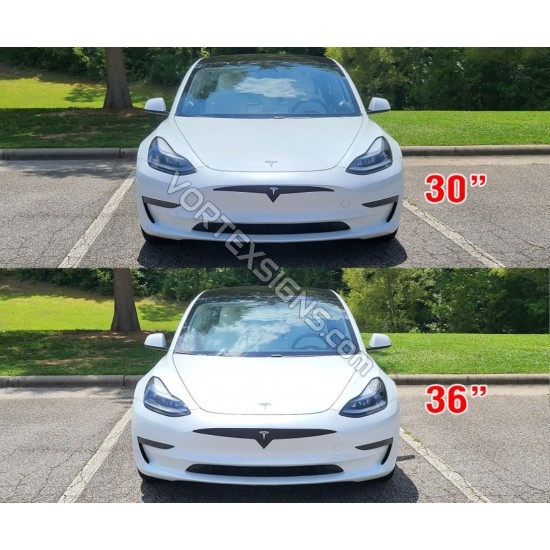
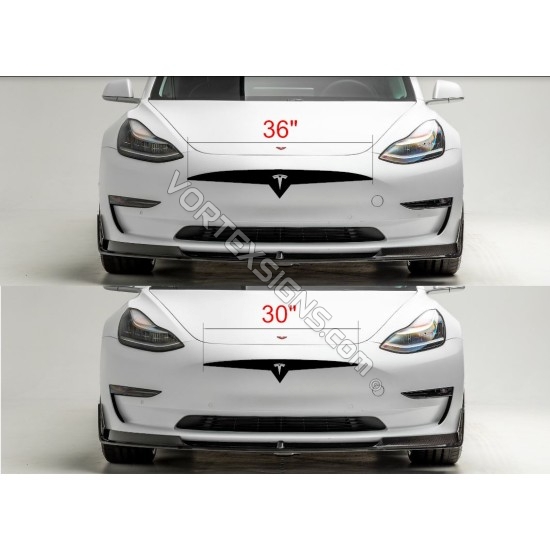
- Pick from 30" or 36" vinyl overlay decal
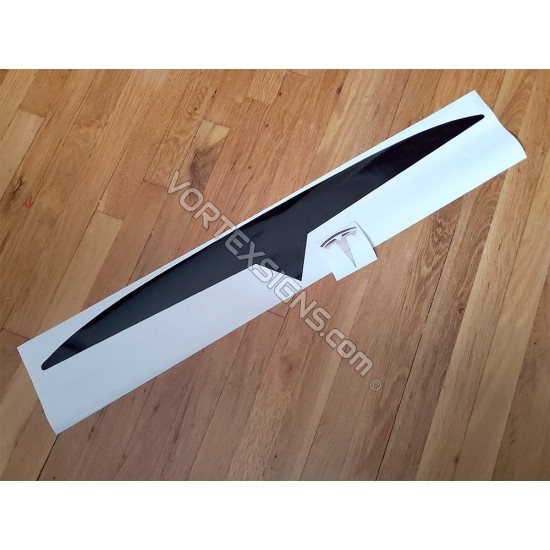
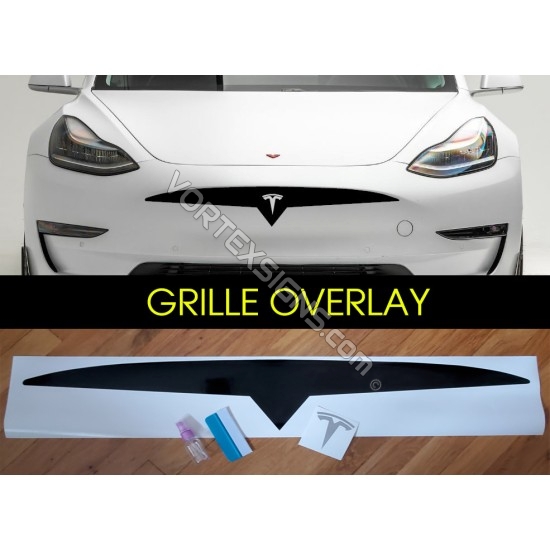
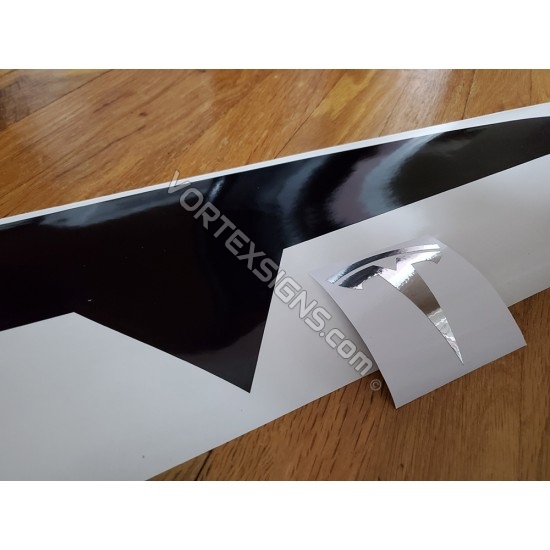
- Comes in 2 pieces (big overlay and small logo) - both applied separately on a front bumper
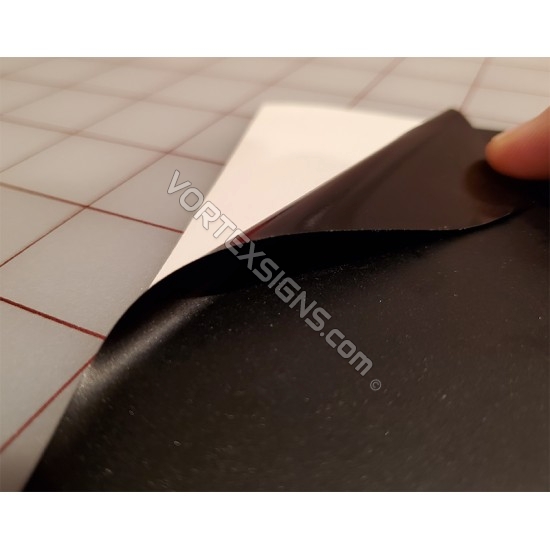
- Custom made out of Oracal 651 Vinyl
- Lasts 6 years / UV coated/protected
- Fits TESLA Model 3 and Model Y front bumper grille and makes it look like a real thing
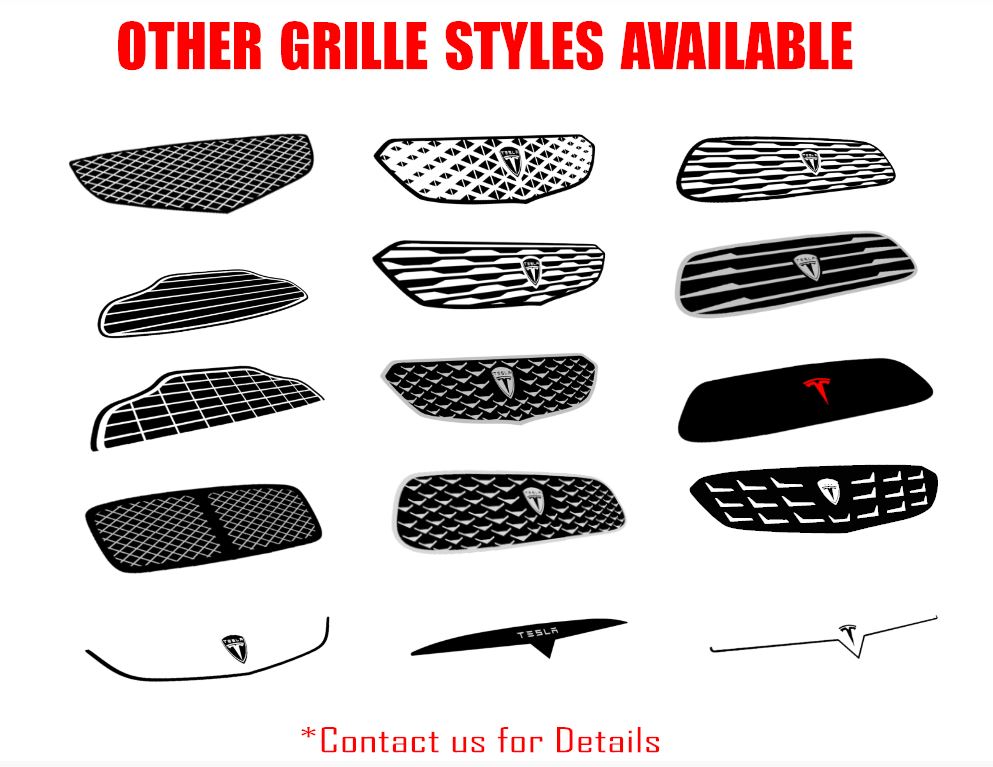
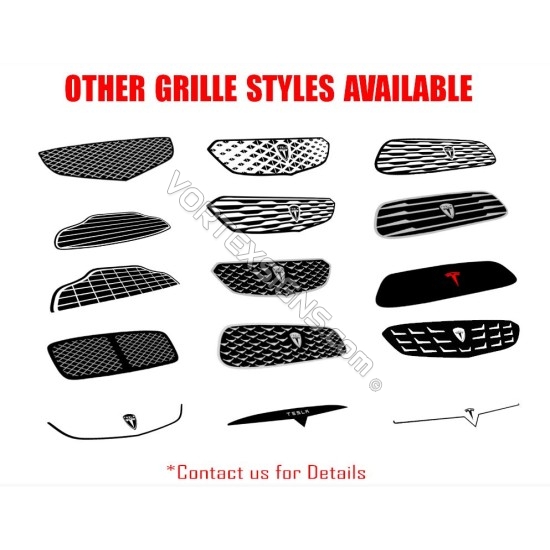
- Many other Model Y grilles · Model 3 grilles · Model S grilles · Model X grilles
- Comes with a squeegee and applicator bottle
Car Tesla Grille with great online reviews and variety of model 3 styles like you see on youtube, amazon or ebay
YOU CAN ALSO PURCHASE PPF paint protection film to protect from road debris, rock chips, etc. Its a clear 7mil special "paint protection film" precut in the shape of the grille. PPF overlays the surface of the decal. It installs just like the actual vinyl decal with water+soap solution
HOW-TO Installation video:
- Stock: In Stock
- SKU: VS233
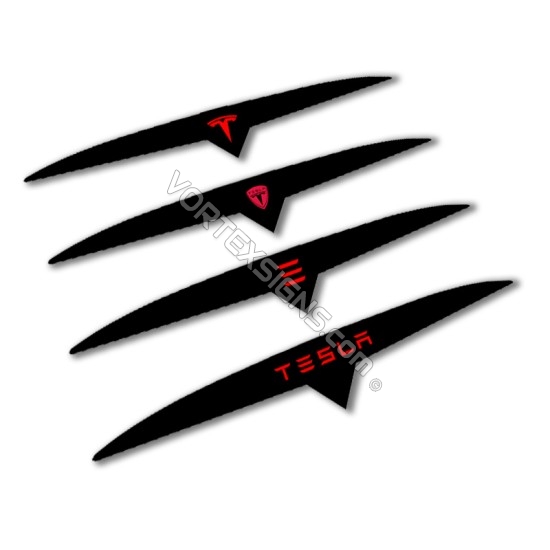
Available Options
Decals are Made out of Automotive professional grade Oracal 651 and 3M 1080 Vinyl - die cut on professional plotter that last 6 years / UV coated/protected. All these items are made for 2021 2022 Model X, Model S, Model Y, Model 3 with different options.
Vortex Signs offers only professional grade and precision decal kits for DIYers and professional body shops. From Hood graphics, front bumper grills, protectors, hood stripes to body line graphics, side door stripes, badges, emblems, reflective stickers sill plates, trunk and bumper stickers, door inserts, fender has stripes, quarter panel decals with very unique designs. All new kits. We also offer custom graphics to your likings. Just let us know what you need.
Note: A clear transfer tape (or application tape) will be provided to help with the installation.
1. Clean surface and allow surface to completely dry
2. Peel back the paper backing from the transfer tape
3. Place the decal on the surface
4. Carefully using a credit card or your fingers to push down on the decals
5. Slowly remove the transfer tape away from the surface ensuring decal does not peel off with the transfer tap


